
Optimizing your website’s speed and performance is always a good move when it comes to improve user experience, improved SEO, and better conversions. One of the great and fastest way to speed up WordPress website is by using a caching plugin on your WordPress website.
How to Speed Up WordPress Website?
There are multiple plugins in the WordPress plugin repository, but to my knowledge, the best and most effective one to speed up WordPress website in minutes is Super Page Cache for Cloudflare.
What is Super Page Cache?
Super Page Cache is a WordPress plugin that can help speed up your website by caching your pages and serving them to visitors without needing to generate the page on the fly each time it is requested.
Website Speed Test
First, let’s test your website speed and performance before installing the plugin. You can test your website after the plugin is installed and configured to see the difference.
Go to GTMetrix and test the website. Take a screenshot of the results to compare it with the new reading after the plugin is deployed.
Prerequisite
I assume you already have a Cloudflare account and deployed on your website. If not, please go through this ARTICLE for a full and in-depth guide on how to create an account on Cloudflare and deploying it on your website.
Let’s start by installing the plugin on your WordPress website and configuring it for best results.
- In the left-hand side, go Plugins > Add New.
- In the search bar, search for Super Page Cache for Cloudflare.
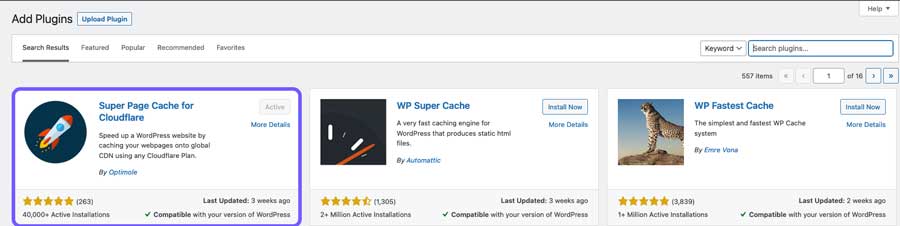
- Once found, click on Install then Activate the plugin.
- Now, login to your Cloudflare account and select your domain name which points to your WordPress website.
- In the right-hand side, scroll all the way down until you see API.
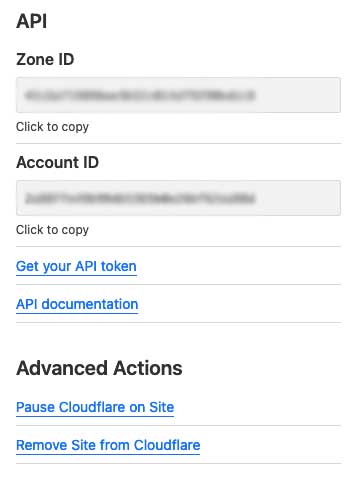
- Click on Get your API token.
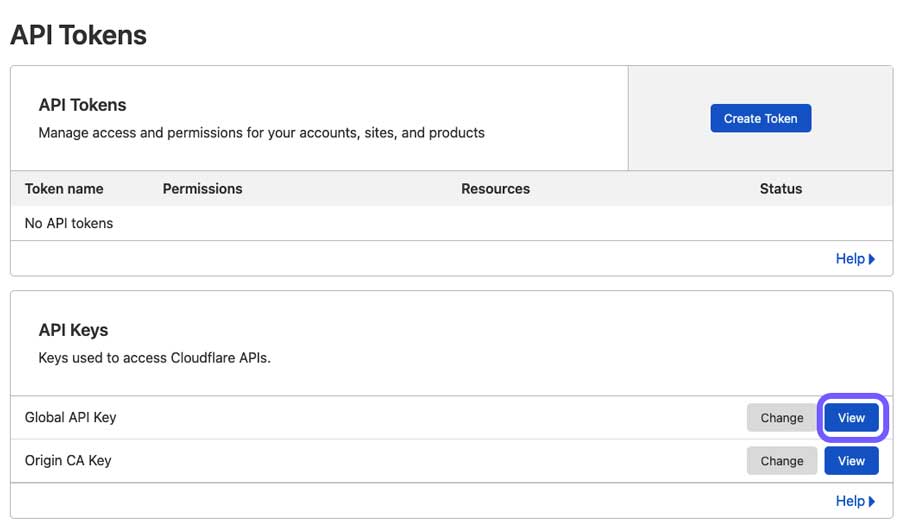
- In the API Keys section, click on View for your Global API Key. Type in your password and click View again.
- Now, copy the API Key.
- Now go back to WordPress admin page and in the left-hand side, go to Settings > Super Page Cache for Cloudflare.
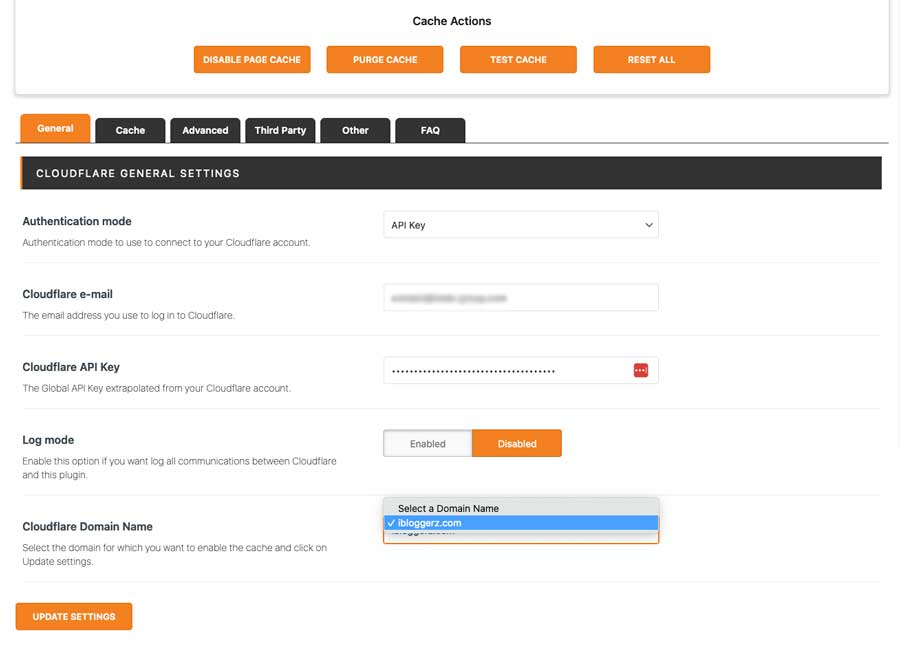
- In the General section, for Authentication mode, select API Key from the drop down list.
- Type in your primary email address for your Cloudflare account.
- Insert the API Key into Cloudflare API Key and click on UPDATE SETTINGS.
- After you update the settings, Cloudflare Domain Name section will appear below Log mode.
- Click on the drop down list and select your primary domain name.
- Once selected, click on UPDATE SETTINGS again.
- On top of the main page, click on ENABLE PAGE CACHE. This will enable the caching mechanism on your website.
Test Your Website Cache
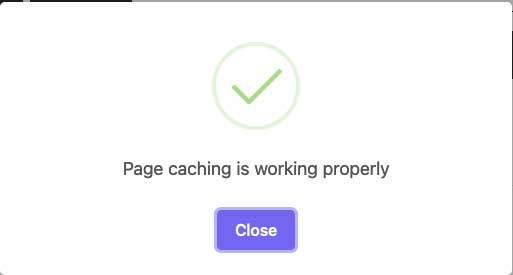
Now, click on TEST CACHE. If you get “Page caching is working properly” you are good to go. However, if you are prompted with an error, don’t panic, sometimes this happens.
- Open your website in incognito mode, right click and inspect, then click on Network section.
- Reload your page and select the first item in the list which the file is “/”. Another window in right-hand side will appear and check for cf-cache-status.
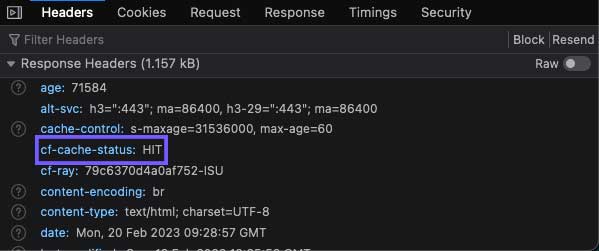
- If you see HIT, it means that Super Page Cache is working fine.
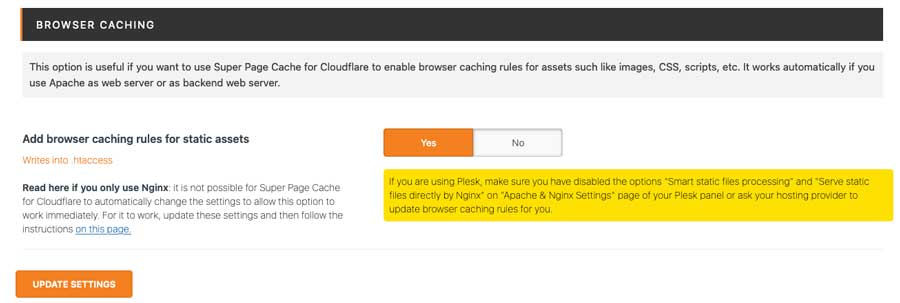
Lastly, there is one more option to change which help to cache all static assets; such as, images, CSS, and Scripts.
- To enable this option, go to Cache section next to General on top of Super Page Cache for Cloudflare page.
- Scroll all the way down. Change “Add browser caching rules for static assets” from No to Yes, then click on UPDATE SETTINGS.
That’s it, now go back to GTMetrix and test the website. You can now compare both reading before and after. Happy with the result? If yes, leave a comment below.